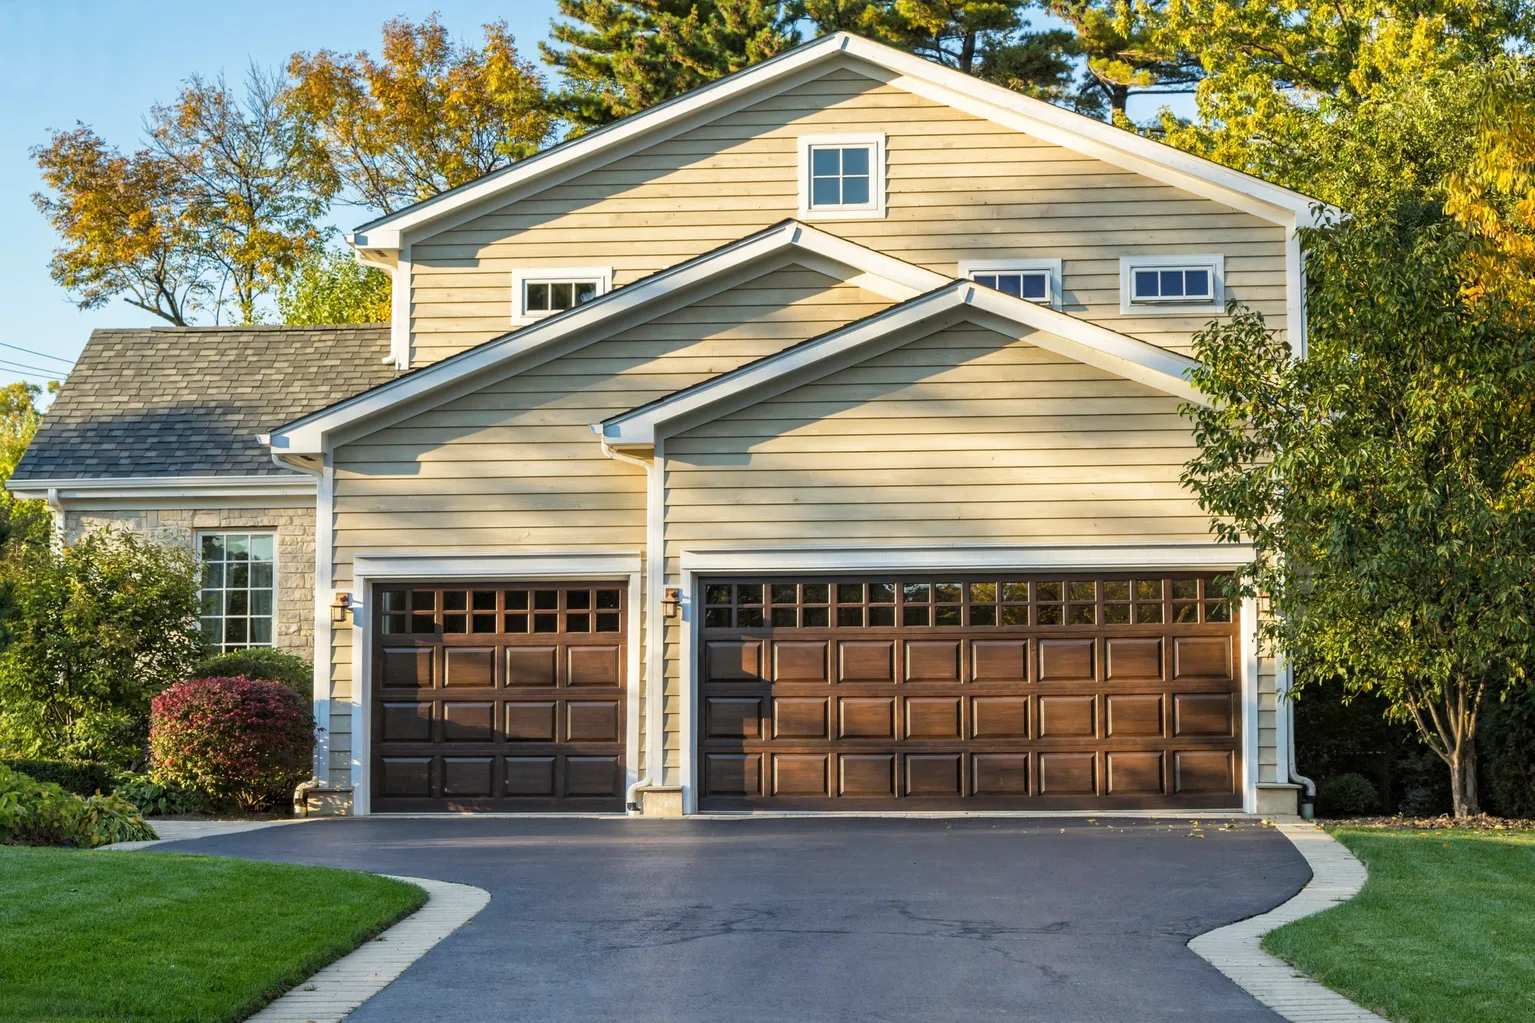


Garage door opener installation is a DIY project that can take anywhere from 2 to 6 hours, depending on the opener type and your experience level. You’ll need a balanced garage door, a nearby electrical outlet, and basic hand tools. While one person can complete the job, having a helper makes lifting and mounting the motor unit much easier.
Before You Install a Garage Door Opener: What to Check First
Before opening the installation box, spend a few minutes checking your garage door system.
Start with a door balance test. Disconnect the opener if one is already installed and lift the door halfway by hand. A properly balanced door should stay in place. If it falls or rises on its own, the spring system may need adjustment.
Next, check that the door moves smoothly along the tracks. Binding, sticking, or uneven movement should be addressed before installation.
You’ll also need a standard ceiling electrical outlet near the opener location. If no outlet is available, electrical work may be required before installation can begin.
At this stage, think about opener type as well:
- Chain-drive openers
- Belt-drive openers
- Wall-mount (jackshaft) openers
Can you install a garage door motor yourself?
Yes, if the door is in good working condition and you’re comfortable using power tools and working overhead. If the door has spring or cable issues, stop and contact a professional for garage door opener service in Bemidji before moving forward.
Tools and Materials You’ll Need
Most opener kits include the hardware required for installation.
Common tools include:
- Stepladder
- Power drill and drill bits
- Socket wrench set
- Screwdrivers
- Tape measure
- Level
- Wire cutters or strippers
- Stud finder
Install Garage Door Opener: Step-by-Step Guide
Step 1: Assemble the Rail and Attach the Motor Unit
Lay the rail sections on the floor and connect them according to the manufacturer’s instructions.
Slide the trolley onto the assembled rail before attaching the rail to the motor unit.
Secure everything using the bolts provided with the opener. Tighten all fasteners before moving to the next step.
Take your time here. A properly assembled rail helps the entire system operate smoothly.
Step 2: Install the Drive Belt or Chain
Feed the belt or chain through the pulley assembly at the front of the rail.
Wrap it around the motor drive sprocket and connect the ends to the trolley assembly.
Adjust tension according to the manufacturer’s specifications.
A typical garage door opener installation kit includes the chain or belt, mounting hardware, brackets, and connection components. Additional purchases are rarely needed.
Step 3: Mount the Header Bracket
Find the center of the garage door opening and mark it on the wall.
Open the garage door fully and identify the highest point the door reaches during travel.
Measure about two inches above that point and install the header bracket there.
The garage door opener installation bracket must be attached to a structural support such as a wall stud or header. Avoid mounting it into drywall alone.
Once secured, attach the front end of the rail to the bracket using the supplied pin.
Step 4: Hang the Motor Unit from the Ceiling
Position the motor unit on a stepladder near its final location.
Use a stud finder to locate ceiling joists. Attach perforated angle iron to the joists using lag screws.
Secure the opener to the angle iron with bolts and locking hardware.
Before tightening everything, check that the rail remains level from front to back.
Your opener manual typically includes a garage door opener installation diagram that shows approved mounting configurations. Follow that diagram closely.
Step 5: Connect the Door Arm
Install the reinforcement bracket and door bracket at the center of the top section of the garage door.
Attach the curved arm to the door bracket and the straight arm to the trolley.
Connect both pieces together and adjust as needed.
Before connecting the arm, verify that the rail is level. This step is often overlooked when learning how to install a new garage door opener, but it directly affects performance.
Step 6: Install Safety Sensors and Wall Console
Mount the safety sensors on each side of the garage door opening.
Keep them no higher than six inches from the floor.
Install the wall console at a convenient height and run the low-voltage wiring back to the opener motor.
Connect all wires according to the manufacturer’s instructions and plug the opener into the ceiling outlet.
If your opener includes a keypad, don’t worry about programming it yet. The keypad setup happens after the opener is fully powered and operational.
Step 7: Program, Adjust, and Test
This is the step that determines whether the opener operates safely.
Align the safety sensors until both indicator lights remain solid.
Program the open and close travel limits using the controls on the motor unit.
Once complete, test the door several times.
Next, perform the 2×4 reversal test.
Place a flat 2×4 on the floor beneath the door and close the door using the opener. The door should reverse immediately after contacting the board.
If it does not reverse:
- Check sensor alignment
- Verify travel settings
- Review force settings
- Repeat testing before regular use
Do not use the system until it passes all safety tests.
Drive Type Comparison: Chain vs. Belt vs. Wall-Mount
Chain Drive
- Noise Level: Moderate to loud
- Cost Range: Lower
- Best For: Budget-focused installations
- Maintenance: Low
Belt Drive
- Noise Level: Quiet
- Cost Range: Moderate
- Best For: Garages attached to living spaces
- Maintenance: Low
Screw Drive
- Noise Level: Moderate
- Cost Range: Moderate
- Best For: Temperature fluctuations
- Maintenance: Minimal
Wall-Mount (Jackshaft)
- Noise Level: Very quiet
- Cost Range: Higher
- Best For: Garages with limited overhead space
- Maintenance: Low
Brands such as LiftMaster, Chamberlain, and Genie offer opener models across several drive categories. Features, warranties, and smart capabilities vary by model.
You May Also Like
- How Much Does It Cost to Install a Garage Door and Installation?
- Pros and Cons of Roll Up Garage Doors
What Does It Cost to Have a Garage Door Opener Installed?
Many homeowners researching opener projects eventually ask the same question: should you do it yourself or hire a professional?
The average labor cost for opener installation typically ranges from $65 to $200 for a standard residential setup.
The opener itself often costs between $150 and $500 depending on:
- Drive type
- Horsepower
- Smart features
- Battery backup options
That puts the total project cost between approximately $250 and $700.
A professional installation can reduce setup errors and eliminate the need to work overhead for several hours.
If you’d rather skip the DIY process, North Country Overhead Door provides garage door opener service in Bemidji and surrounding Minnesota communities.
When to Skip the DIY and Call a Pro
Some projects are better handled by an experienced technician.
Consider professional help if:
- The door is unbalanced
- Springs or cables show damage
- No ceiling outlet is available
- The garage requires a wall-mount opener
- You’re uncomfortable mounting equipment overhead
Commercial buildings deserve special attention.
A commercial roll up door service project involves different door systems, components, and operating requirements than a residential opener installation. Commercial roll-up doors require a different installation process and should be handled by trained professionals.
How to Install a Garage Door Opener Remote and Keypad
Programming a remote or keypad usually takes only a few minutes.
- Locate the Learn button on the opener motor.
- Press the Learn button.
- Press the remote or keypad button you want to pair.
The opener should confirm the connection through a light flash or audible signal.
Exact programming steps vary between LiftMaster, Chamberlain, Genie, and other manufacturers. Always check the owner’s manual for model-specific instructions.
FAQs
Can you install a garage door motor yourself?
Yes, if the garage door operates properly, an outlet is available, and you’re comfortable using hand tools. If springs, cables, or door balance issues exist, address those problems before starting the installation.
What is the average labor cost to install a garage door opener?
Professional labor typically ranges from $65 to $200 for a standard residential garage door opener installation. Combined with the opener unit itself, total project costs often fall between $250 and $700.
How long does it take to install a garage door opener?
DIY installation usually takes between 2 and 6 hours. Having a helper can speed up the process, especially when mounting the motor unit and positioning the rail system during installing garage door opener projects.